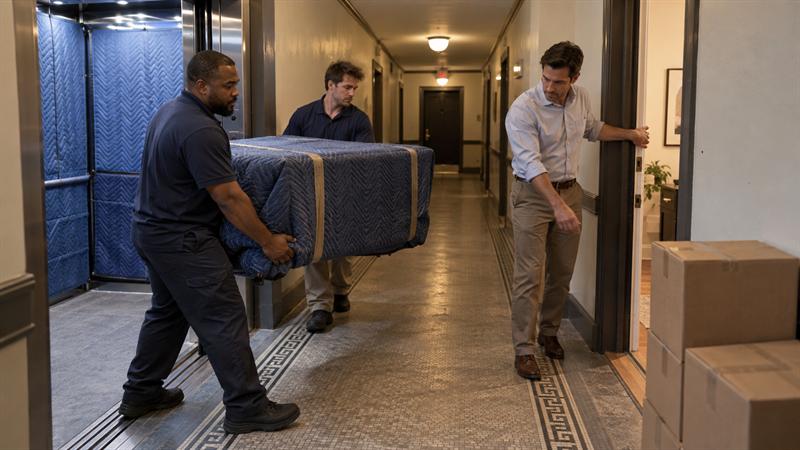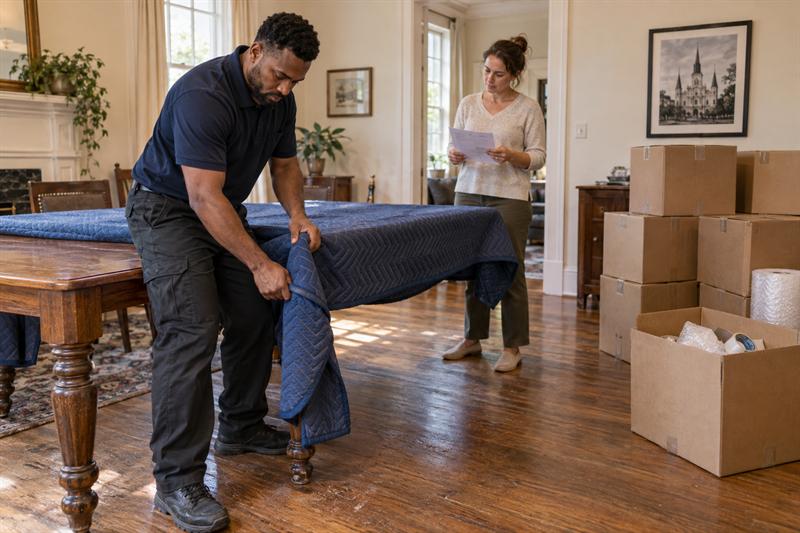
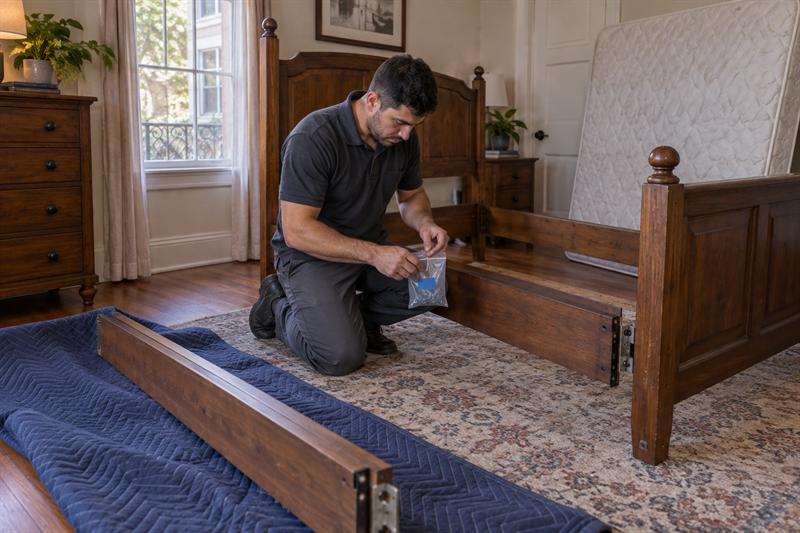
Not every bed, table, or shelving unit needs to come apart. Start with its condition, how it is built, and the route through both properties. A narrow doorway does not automatically justify dismantling a frame with glued or damaged joints.
When planning a move with H and U Express Moving, include furniture assembly needs alongside packing and transport details. Discuss what needs to come apart, how the components will travel, and which items need rebuilding at the destination.
Key Takeaways
- Remove only the components needed for suitable handling and access.
- Photograph connections and locate instructions before separating parts.
- Label hardware by furniture item and connection location.
- Match protection to each component’s material, edges, and condition.
- Clarify disassembly, reassembly, and billing responsibilities before the move.
Does Your Furniture Need to Be Disassembled for Moving?
Furniture may need disassembly when individual components prevent it from fitting through the moving route or being handled securely. Check its construction and condition first. Partial disassembly is the practical choice when it solves the problem; taking the whole item apart adds work and may put weakened connections at risk.
Check Access, Construction, and Condition
Assess both properties before choosing a method. A piece that leaves the current room easily still needs to reach its intended room at the destination.
- Will it fit? Compare dimensions with doorways, stairs, and relevant turns at both locations.
- Is it designed to come apart? Look for removable connections and consult the model’s instructions.
- Are the connections sound? Note cracks, loose joints, damaged panels, and previous repairs.
Two similar-looking bookcases can require different handling because their connectors and condition differ. For related access and carrying considerations, see how to move large furniture without damage.
Choose Partial Disassembly When It Is Enough
Remove fewer components when that meets the handling requirements. Each connection taken apart is another connection to document and restore later.
- Table: Removing manufacturer-designed detachable legs might provide enough clearance without dismantling the tabletop’s supporting structure.
- Sectional: Designed connectors may allow sections to separate without taking their frames apart.
- Bed: Detachable rails and a headboard require a different plan from a bed with an unfamiliar lifting mechanism.
These are examples, not instructions for every model. Follow the furniture’s design rather than assuming all visible joints should separate.
Know When to Stop and Seek Additional Guidance
Stop if dismantling requires forcing an unfamiliar connection or disturbing visibly damaged material. More force does not resolve uncertainty about how a joint works.
- Glued joints: Do not treat them like removable bolted connections. Establish whether dismantling is intended by the design.
- Cracked particleboard or damaged connector holes: Have the damage inspected before relying on those connections for reassembly.
- Seized fasteners: Pause rather than risk stripping the head or damaging the surrounding material.
- Unfamiliar mechanisms: Locate model-specific guidance before releasing components.
If a panel crumbles around a connector, the issue is no longer just access. The damaged connection needs attention before the furniture is rebuilt and used.
What to Prepare Before Taking Furniture Apart
Document the furniture and assign responsibilities before separating parts. Once components are wrapped, connection details and orientation become harder to check.
Photograph the Furniture and Find Its Instructions
Record how the item fits together, not just what it looks like from across the room.
- Photograph the assembled item and any identifying label.
- Take close-ups of connections and component orientation.
- Document existing damage or repairs.
- Locate the model-specific assembly manual and identify the required tools.
- Empty the item as appropriate and clear a suitable workspace.
A generic tutorial is not a substitute for the correct manual when the connectors differ. If the instructions do not match the furniture, resolve that mismatch before loosening parts.
Assign Responsibility for Every Stage
Name who handles each stage, especially when one person dismantles the furniture and another rebuilds it.
- Who removes and labels components?
- Who keeps the hardware and instructions?
- Who prepares parts for transport or storage?
- Who completes destination reassembly?
Handoff problems can develop when each person assumes someone else has the fasteners. Record these responsibilities in the moving plan so the hardware travels with a clear owner and destination.
How to Organize Furniture Hardware for a Move
Use matching identifiers for the furniture, components, photographs, and hardware. “Bed screws” is not a useful label when several beds are moving.
Give Every Item, Component, and Hardware Bag a Matching Label
Label by item and connection location so reassembly does not begin with sorting unidentified fasteners.
- Assign an item identifier: For example, “Bed 1, Main Bedroom.”
- Photograph each connection: Capture its orientation before removing hardware.
- Separate hardware where useful: Keep fasteners for distinct connections in separate bags.
- Label each bag: For example, “Bed 1, Main Bedroom, Headboard Bolts.”
- Match component labels to the record: Use a labeling method that will not damage the finish.
Mixing hardware creates confusion even when nothing is missing. Similar-looking screws can be difficult to match to their original locations; separate, labeled bags preserve that information.
Keep Hardware Accountable Through Transport and Storage
Place labeled bags in a secured container, list its contents, and assign someone responsibility for it. Labels tell you what the hardware belongs to. A recorded location tells you where to find it.
- List the hardware bags inside the container.
- Record where the container will travel or be stored.
- Keep the matching instructions accessible.
- Account for the container at each handoff.
Avoid loose hardware in drawers or unmarked boxes. If furniture enters storage, keep the inventory with the move records rather than relying on memory when it is time to rebuild.
How to Protect Disassembled Furniture Parts
Protect separated components according to their materials and newly exposed surfaces. Panel edges, connectors, and detached legs may need protection they did not require while assembled.
Protect Finished Surfaces, Edges, and Connection Points
Address surface contact, impact, and movement separately. Wrapping can hold a covering in place, but it does not automatically provide cushioning or secure an item during transport.
- Finished surfaces: Use compatible protective materials and prevent parts from rubbing together.
- Edges and corners: Add suitable cushioning around vulnerable areas.
- Connection points: Protect protruding connectors and keep loose fasteners away from finishes.
- Separated panels: Plan packaging and securement so panels do not rub or shift against other components.
Follow furniture-care and packing-product instructions for material compatibility. Do not assume tape or plastic can remain in direct contact with every finish.
Plan Separately for Fragile Components and Storage
Glass, stone, delicate finishes, and weakened components need an item-specific protection plan. Moving blankets alone are not sufficient packaging for every fragile part.
Furniture should be dry before wrapping. For storage, consider the length of time materials will remain in contact with the furniture, not just the journey there. Check material-care guidance before wrapping components for an extended period.
H and U Express Moving offers professional packing, large- and fragile-item handling, and short- and long-term storage when separated components need more than basic preparation. The guide to items that require specialty moving services explains when a broader handling assessment is useful.
Resolve unclear furniture handling before moving day. Send H and U Express Moving photos and details if the move includes:
- Cracked panels, loose joints, or unfamiliar mechanisms.
- Detached glass, stone, or other fragile components.
- Missing hardware or instructions.
- Storage between dismantling and destination setup.
These situations need a defined handling and reassembly plan before work begins.
What Furniture Reassembly Should Include at the Destination
Reassembly starts with matching parts and instructions, not opening the first available hardware bag. Having every component delivered is only the first check.
Match the Parts Before Rebuilding
Prepare the workspace and account for the required components before assembly begins.
- Confirm the intended room and furniture position.
- Clear enough working space for assembly.
- Check components against the inventory.
- Locate the correct model’s instructions.
- Match original hardware to each connection.
Follow the manufacturer’s assembly sequence. Simply reversing the removal steps is not a reliable substitute when the instructions specify a different order.
Check Alignment and Address Unresolved Problems Before Use
Do not use furniture with unresolved connection or stability problems. Missing hardware, unexpected movement, and misaligned parts need attention before the item carries its intended load.
If a connection does not align, check orientation and hardware rather than forcing it together. Resistance does not prove that a fastener needs more tightening, and a screw that appears to fit is not necessarily the correct replacement.
Follow the manufacturer’s anchoring requirements and establish who handles any specialized installation. A visual completion check helps identify obvious concerns; it does not certify structural soundness.
What to Ask a New Orleans Mover About Disassembly and Reassembly
Ask how furniture work fits into the move, not simply whether the company “does assembly.” A useful answer identifies accepted items, labor coverage, protection, and destination responsibilities.
H and U Express Moving’s hourly packages and included protective supplies provide a starting point for that discussion. Review labor and materials separately: included supplies do not establish that every dismantling task or specialty material is covered.
Confirm Labor, Supplies, and Exclusions
Use specific questions to distinguish the agreed moving work from tasks that need separate arrangements.
- Does the scope include both dismantling and destination reassembly for these items?
- Which furniture types or conditions require additional assessment?
- Is assembly work billed within hourly labor or handled separately?
- Which protective supplies are included, and are special materials needed?
- Are particular tools, replacement hardware, repairs, or anchoring outside the scope?
With hourly pricing, “no separate assembly fee” does not mean assembly takes no billable time. Make sure the estimate addresses the work at both locations.
Send the Details That Help Clarify the Estimate
Provide enough detail to assess the work before the crew arrives. A photograph of the whole item shows its size and shape; close-ups of connections and damage help explain its dismantling requirements.
- Item list, quantities, and photographs.
- Model information and available instructions.
- Existing damage, repairs, or missing parts.
- Relevant stairs, doorways, and building requirements at both locations.
- Storage needs and the desired destination setup.
Missing details can leave labor requirements unresolved. Sharing them early helps identify which pieces have straightforward detachable components and which need additional assessment.
Frequently Asked Questions
Do Movers Disassemble and Reassemble Furniture?
Some movers offer both services, but coverage depends on the furniture and agreed work. Taking apart a bed frame and rebuilding it at the destination are separate tasks; one does not automatically include the other. Standard reassembly also does not necessarily cover repairs, replacement hardware, or wall anchoring.
Should I Take My Bed Apart Before Movers Arrive?
Not necessarily. If disassembly is assigned to the moving crew, taking the bed apart early may be unnecessary. When handling it yourself, use model-specific instructions and keep connection photos and labeled hardware. A frame with detachable rails presents a different task from a bed with an unfamiliar mechanism.
Can Flat-Pack Furniture Be Disassembled and Reassembled Safely?
Some flat-pack furniture is suitable for dismantling and rebuilding, but design and condition determine the decision. Damaged particleboard or weakened connector holes can make reassembly less reliable, even when every part is present. Manufacturer guidance, existing damage, and previous assembly cycles matter more than the “flat-pack” label alone.
What Should I Do If Furniture Screws or Instructions Are Missing?
Identify the model and look for official instructions or manufacturer-specified replacement hardware. A missing manual might be available online, while a missing structural fastener leaves a connection unresolved. Do not substitute a screw merely because it appears to fit; pause that assembly step until the required hardware is identified.
Does Furniture Disassembly Cost Extra When Hiring Movers?
It can carry a separate charge, fall within hourly labor, or be excluded. With hourly billing, the work can add billable time even without a separate fee. Furniture complexity, condition, and destination reassembly affect the labor involved; included protective supplies address a different part of the scope.
Conclusion: Plan for Reassembly Before Disassembly Begins
Contact H and U Express Moving to plan furniture handling before taking pieces apart. The job is not complete when furniture fits through the door: untracked hardware, unsuitable protection, and unclear reassembly responsibilities can lead to damage, missing pieces, or rework at the destination.
Send an item list, furniture photos, available instructions, and access details while there is time to resolve missing parts and clarify the work. Then review what to expect on moving day to connect that furniture plan with arrival, unloading, and the final walkthrough.